Perform a Close Interval Survey
Before beginning the survey, ensure that the options for DVM read method and associated settings are configured in the DVM module. Refer to Set Measurement Type, Voltage Range, and DVM Settings for more information.
The first time you use the CI Survey module, you will be prompted to set up the new survey properties.
If you have previously started a CI survey, the survey will display in the window. Refer to Open a Survey for more information.
It is recommending that you save the survey after taking your first reading.
If you are performing an interrupted survey, refer to Interrupted On/Off Settings for more information on setting options for this type of survey.
Refer to CI Survey Keyboard Shortcuts for a list of shortcut keys. The shortcuts can be used with the Allegro AX or on the Mesa 3 if you are using the external keyboard.
Complete the following steps to add Survey Properties to your first Close Interval survey:
-
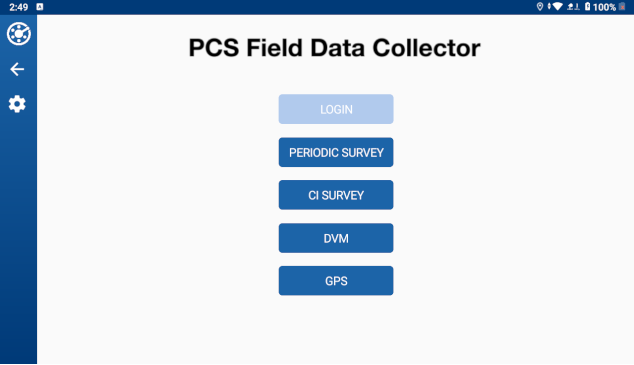
Tap CI Survey from the home window.

PCS Field Data Collector Home Window
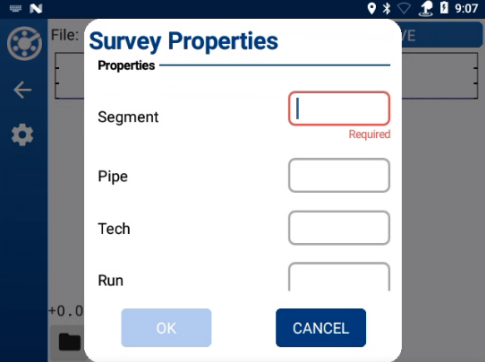
For the first survey, the Survey Properties window displays.

Survey Properties
-
Enter a Segment (required). If available, Date is also required. To ensure the survey data is imported into PCS correctly, enter information into all fields.
-
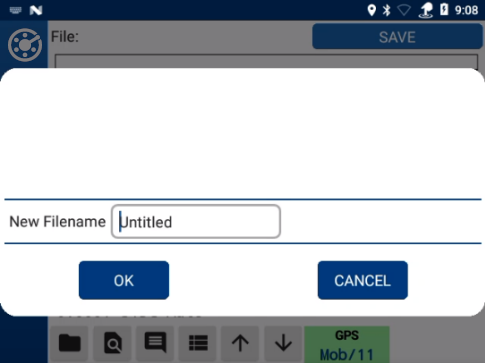
Tap OK. A New Filename window opens.

CI Survey - New Survey Name
-
Enter a name for the new survey file.
-
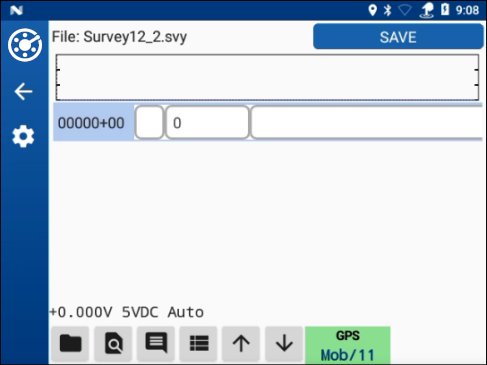
Tap OK. A blank survey opens in the CI Survey window.

New Survey
It is recommended that you save the survey file before and after entering data or enable Autosave (refer to CI Settings for more information on enabling Autosave and other CI Survey settings).
Once a survey file is created or opened for editing, the following actions can be performed: