Work with Survey Records
While working in the CI Survey module, you can move to a certain record, insert a record, move to the first or last record, skip a record or records, add a gap record, or delete a record.
The options to work with records are available by tapping the ![]() icon at the bottom of the CI Survey window.
icon at the bottom of the CI Survey window.
Complete the following steps to go to or insert a record, go to the first or last record, skip a record or records, or delete a record.
Refer to CI Survey Keyboard Shortcuts for available shortcuts to complete these actions.
-
Tap
 (or Alt-M) at the bottom of the CI Survey window.
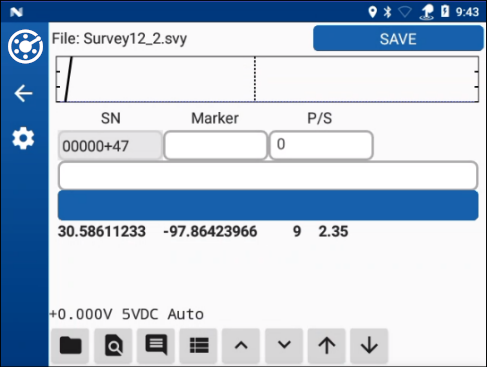
CI Survey Window
A record options window opens.

Records Options
-
To either go to a record or insert a new record with that reference number, enter a record number in the Go To Or Insert text field.
-
To go to the first record of the survey, tap First Record.
-
To go to the last record of the survey, tap Last Record.
-
To skip a record or records, enter a value in the Skip text box. For example, to skip 3 records, enter 3.
-
If the survey is in Flagged mode and you want to mark the record as a gap, tap Gap. Refer to Set Survey Properties for information on how to set the survey as Flagged.
-
To delete a record, enter the record number in the Delete text box and tap Delete.
-
To close the options window without making any changes, tap outside the window.