Create a New User
An Admin or Manager can create new users. When creating a new user, the Admin or Manager also assigns the User Type and selects which subscriptions the user will have.
Refer to User Types for an overview of User Types and permissions.
Complete the following steps to create a new user, set the User Type, and add subscriptions for that user:
-
Click on your user name and select Portal. A new browser tab will open, and you will be logged into the Portal automatically.
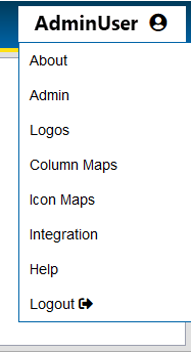
User Name Menu
-
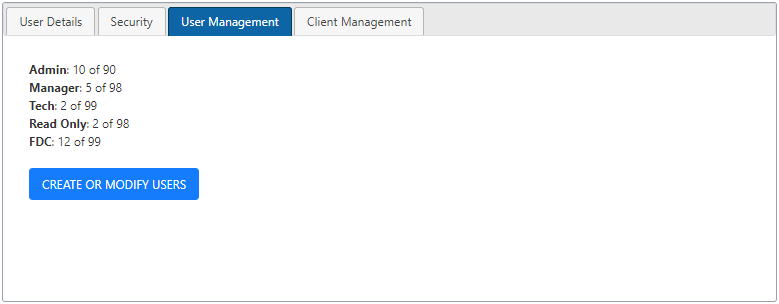
In the Portal, select the User Management tab and click the Create or Modify Users button.
-
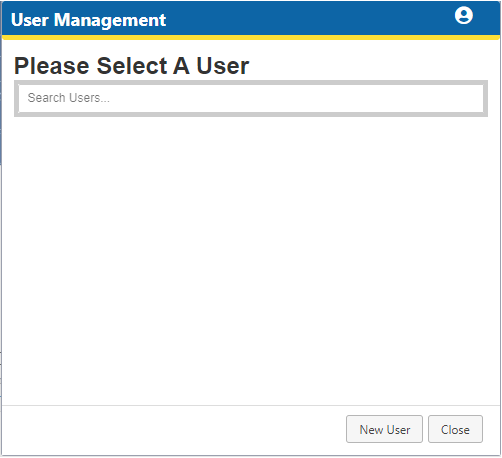
Click the New User button in the User Managementwindow.
-
Click the Detailstab to input User Info.
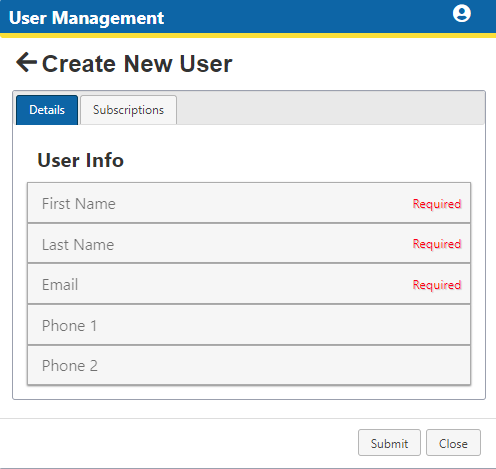
Details Tab
To edit user info for existing users, refer to Edit User Information
-
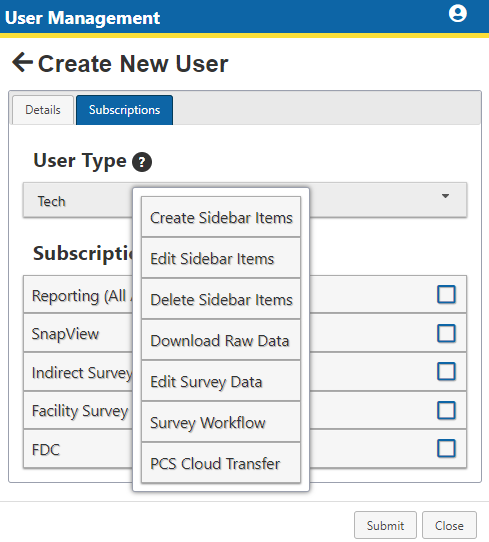
Select the Subscriptions tab, click the User Type drop-down list, and select the user type.
Hover your mouse pointer over the
 icon to see permissions for the selected user type.
Admins will be able to select any user type, while Managers will only be able to select either Tech or Read-Only.
-
Select the check boxes for the desired subscriptions and click the Submit button.
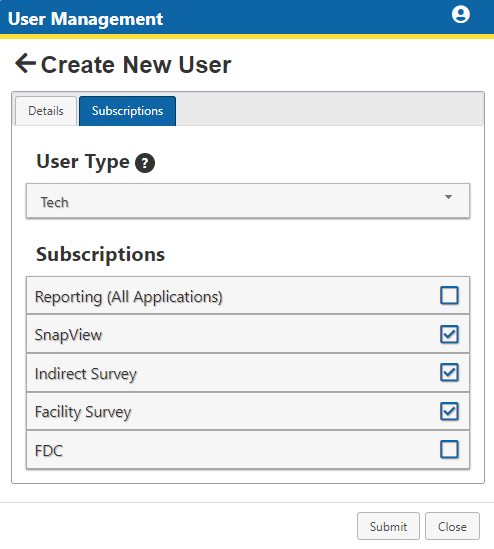
Subscriptions
To edit subscriptions for existing users, refer to Activate or Deactivate a User's Subscriptions.
-
Click OK in the Success window
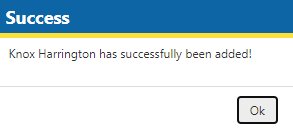
Success Window
User Management Tab in Portal
User Management Window
Select User Type
To change the user type for an exiting user, refer toChange User Type.
The new user will receive an automated email with instructions for logging into their account. Once the user has logged into their account, complete the steps in Configure Sidebar Access.