Install Adjustable Mounting Bracket
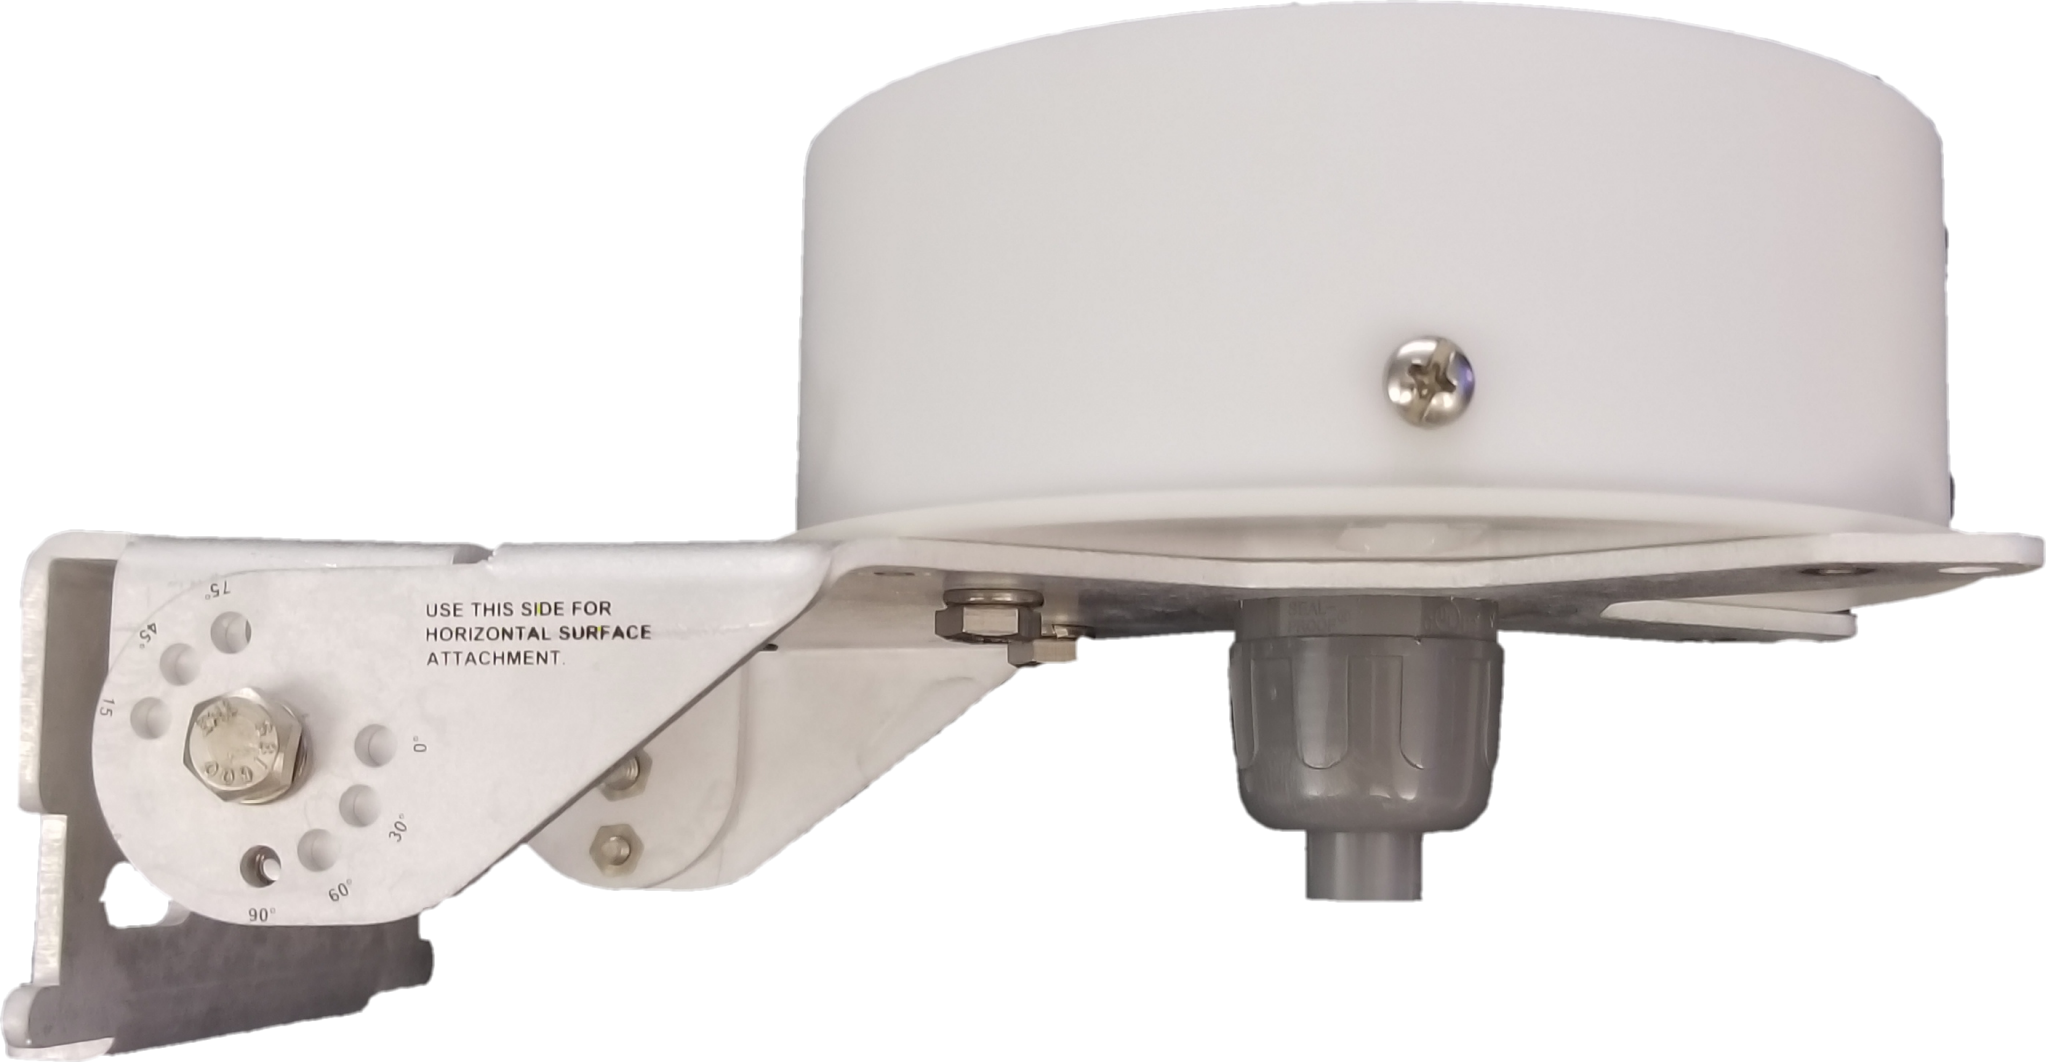
RM4210/RM4250 and RM4211/RM4251 units can be installed on a pole or a flat surface by using an adjustable mounting bracket. This option may be used if the unit is not installed on a test station or if the installation location has limited satellite reception. The unit is attached to the bracket with a flat base adapter. The bracket can be angled and adjusted to receive optimum satellite signal.
Equipment intended to be mounted on a wall or ceiling shall withstand a force of four times (4x) the weight of the equipment.
Complete the following steps to install an RM4210/RM4250 or RM4211/RM4251 on an adjustable bracket with a flat base adapter.
-
Install the flat base adapter onto the adjustable bracket.
-
Install the liquid tight fitting into the center of the flat base adapter (from the underside).

Flat Base Adapter and Conduit Pass Through Installed
-
Mount the adapter and bracket on an available surface using the provided mounting hardware.
-
Thread input wires through the fitting on the flat base adapter.
-
Place the unit on the flat base adapter, lining up the screws.
Do not twist the dome on the adapter if the screws do not line up with the cut-outs. Lift the dome off of the adapter and replace in correct position.
-
Secure the unit by tightening the screws.
-
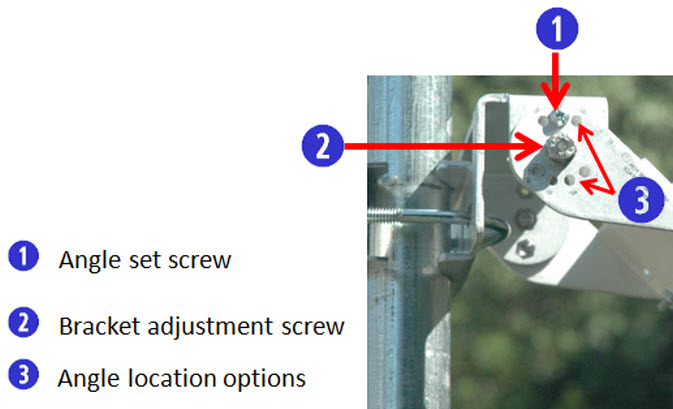
After activating the unit and opening Bullhorn Tools or Bullhorn Tools Mobile, adjust the angle of the bracket, as necessary, to acquire satellite signal (refer to Test Satellite Reception).

Adjustable Bracket