Send a Command from Send Commands Tab
Complete the following steps to send a command now or to schedule a command to be sent later from the Send Commands page:
-
Click the
 Send Commands tab.

Send Commands Tab
-
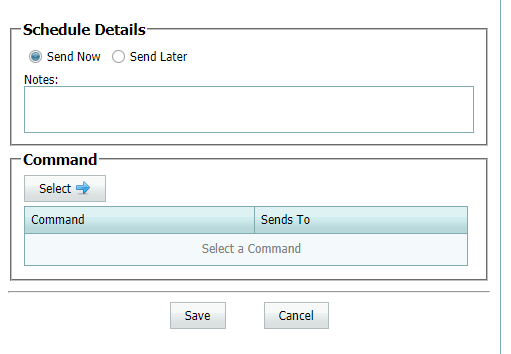
In the Schedule Details area, select either Send Now or Send Later by clicking the radio button next to the option.

Schedule Details Options
-
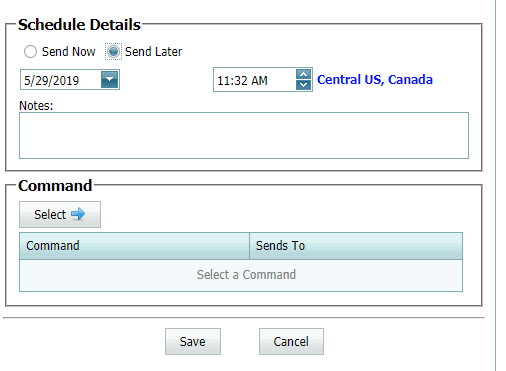
If you select Send Later, select the date and time to send the command. Click the arrow next to the date or time fields to change default settings.

Send Later Date and Time Options
-
If applicable, add any notes about the scheduled command in the Notes text field.
-
In the Command area, click the Select
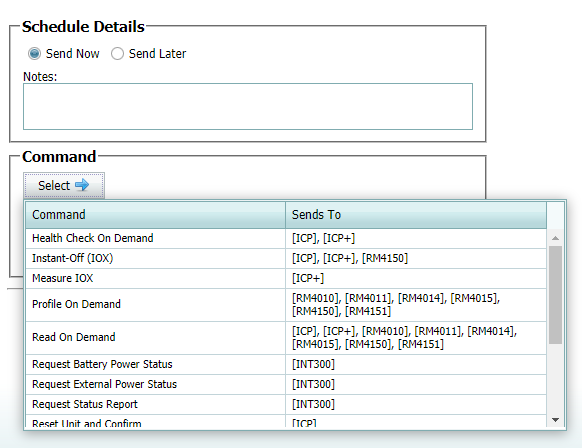
 button to select the command to send. A list of commands and the type of unit that the command can be sent to will display.
List of Commands to Send
-
Select a command from the list.
The Units navigation window updates. Only the unit groups or units that can receive the type of command that you selected will display in the Units navigation window. -
Select a unit or a group of units from the Units navigation window:
-
Click the check box beside a unit group if you want to select all units in the unit group.
-
If you want to select one or more units in a unit group, click the open icon (+) of the unit group and then click the check box beside one or more units in the unit group.
You can select units from different groups. However, you must select at least one unit.
-
Click Save.
If a unit or units have an issue, such as not installed, a warning window will display. You will have the option to send the command to all the units (including the ones with the issue), send the command to only the units that do not have an issue, or cancel the send command. If you select to send the command, the Send Commands page closes, and the Schedule tab displays. From this tab, you can edit or cancel the sent commands.
-
-
Click
 to see the latest unit information.
-
Click the History tab.
-
To sort the table by column name:
-
For Type, Unit, Status, and User - type a value relating to that column and then click the column header to resort the table.
-
For Scheduled Time and Status Date - click the arrow in the field under the column header name and select a date. The table will display the related history. To clear the date, click Clear in the pop-up calendar window or delete the text from the field.
-
-
To filter the table by unit group, unit name, ID, type, Facility ID, or system serial number, click in the Filter field (above the table) and enter text or numbers relating to one of those filters. Select the group or unit from the units displayed.
-
To filter the table by unit type, click the arrow next to the Unit Type field and select a type from the list.
-
To sort the table in ascending or descending order, click a header name. Click the header name again to reverse the order.
The History table updates after each of your selections.
The status of sent commands can also be viewed from the Unit Detail Page or as a report ().