Edit and Arrange Filters and Filter Groups
PCS processes filters in a filter group in descending order beginning with the filter at the top of the filter group. Filter groups are processed similarly. Information in this section explains how to edit filter property settings and how to arrange filters and filter groups.
Complete the following steps to edit and arrange filters and filter groups:
-
Click Data Entry > Define Routes to open the Define Routes window. Select a route from the Routes drop-down list.

Defined Routes
-
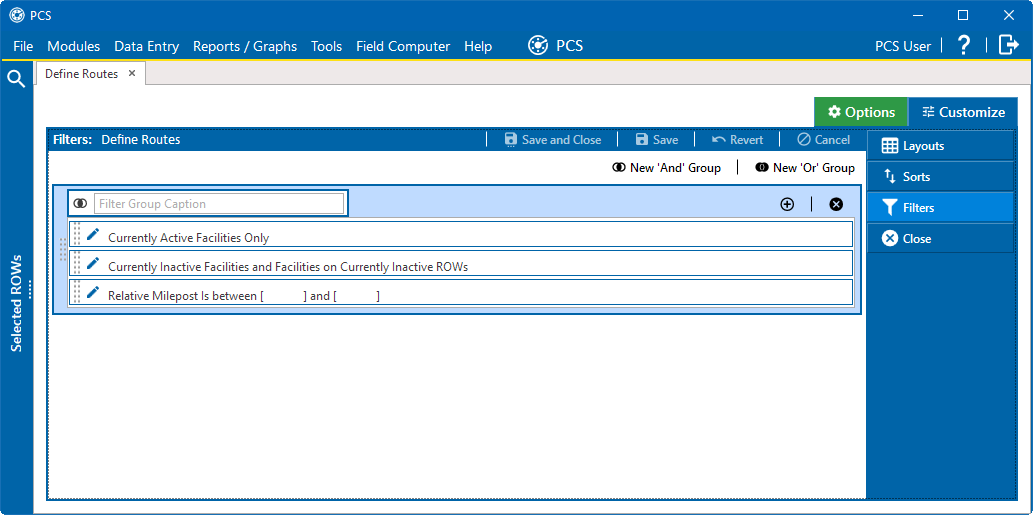
Click the Customize tab and then the Filters tab to open the Filters window.

Filters Window
-
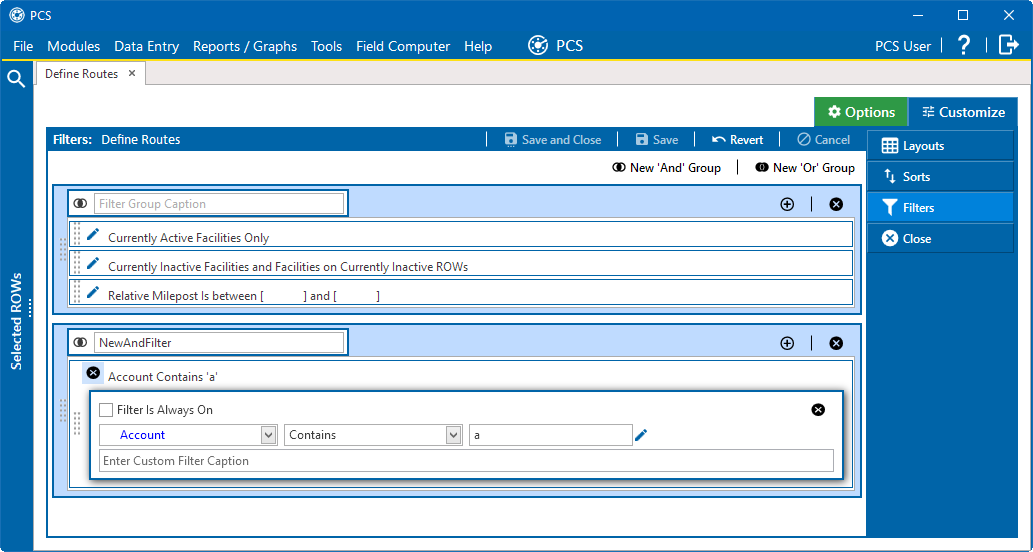
Click the edit icon
 to display a filter's property settings.
Filter Group's Settings
-
To rename a filter, type a description in the filter's name field.
-
To change filter criteria, use filter selection fields to select a PCS field, operator, and one or more filter conditions.
-
To enable a filter for all sessions of the data entry grid, click the check box Filter is Always On to place a check mark inside the check box. When this check box is not selected, toggle the filter on and off in the options page using the filter's check box.
-
To delete a filter in a filter group, click the filter's
 delete icon. Then click
  OK in the Delete message window.
 -
Click
 Save to save changes or
  Save and Close to save changes and close the Filters window.
 -
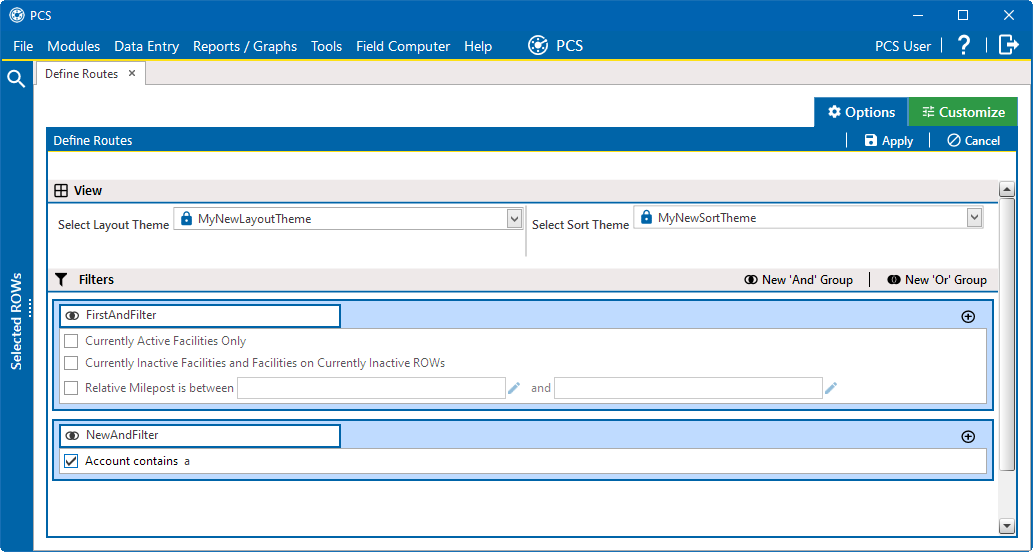
To apply filter changes to the selected route and the Define Routes grid, click Options tab to open the Options window and select (or de-select) any filter you wish to use. Click
 Apply to save changes and return to the Define Routes grid.
Select Filters for Use