Add a Columnar Report Layout Theme
A columnar report layout theme is a group of settings for a columnar report layout that have been saved as a theme for later use. Settings include choosing which fields to include in the report, paper settings, and print options. The following procedure applies to a columnar report layout theme for any columnar report in PCS.
Complete the following steps to add a columnar report layout theme:
-
Select the report you want to work with in the Reports/Graphs menu. Click Report/Graphs and then select a report in the list.
For example, click Reports/Graphs > Test Point Reports > Test Point Inspection Report.
-
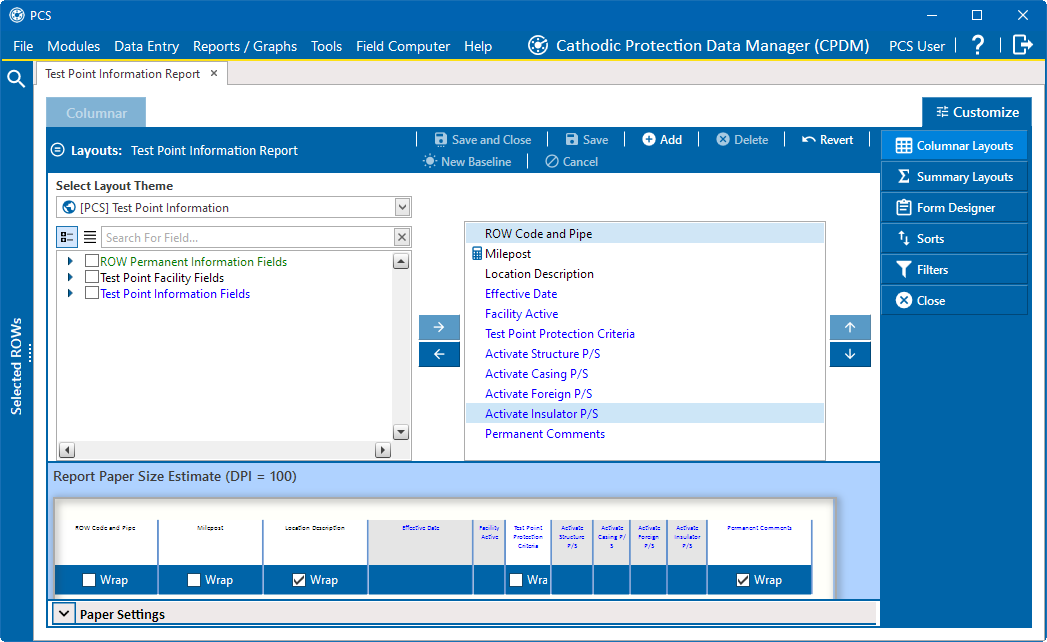
Click the Customize tab and then the Columnar Layout tab to open the Layouts page.

Report Layouts
-
Click
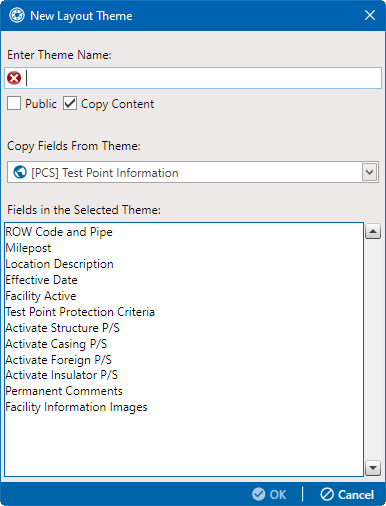
 Add to open the New Layout Theme window.
New Layout Theme
-
Enter a name for the layout theme in the Enter Theme Name field. This field is required.
-
If you want to create a public theme, click the Public check box to place a check mark inside the check box. When the check box is empty, the layout saves as a private theme.
Themes are either public or private. A public theme is available for use by all PCS users. A private theme is available only to the user who creates it.
-
If you want to copy fields from another layout theme, click the Copy Content check box and then select a theme from the Copy Fields From Theme drop-down list.
-
Click
 OK to save changes and return to the Layouts window.
Layouts Window With New Layout
-
Complete the following steps to add and remove fields in the report layout theme as needed:
-
Click the toggle arrow
 for a field category in the left pane of the window to view a list of fields available for selection. For example, click
  All Fields.
 -
Select a field by clicking in the check box for the field and then click the
 button to move it to the left pane. You can also double-click a field to move it to the right pane. Repeat this step as needed. The report layout theme includes all fields in the right pane of the Layouts window.
 -
To remove a field in the layout theme, select the filed in the left pane and then click the
 button to move it to the right pane. You can also double-click a field to move it to the left pane. Repeat this step as needed.
 -
To change the order of fields in the right pane and subsequently in the grid, click and drag a field to a new position in the list. Or, select a field and then click the
 or
or  button.
-
-
Click the Wrap check box in Report Paper Size Estimate for each field you want text to wrap.

Wrap Option for Text Fields
-
To adjust the width of report columns:
-
Place the mouse over a column boundary to change the cursor to a horizontal resize cursor
 .
. -
Click and drag a column boundary to adjust the width of the report column.

Resizing a Column
-
If the adjustment extends report columns outside of the page, a red "out of bounds" message displays. Click and drag the column boundary to make adjustments as needed to clear the message.
-
-
Click
 Paper Settings to open the property settings pane.
Paper Settings
-
Set options as needed in the Paper Settings and Print Options panes.
-
To increase or decrease the font size, adjust the Min and Max settings for the font selected.
-
To adjust the space between columns, enter or adjust the value in the Column Spacing field.
-
Select either Portrait or Landscape radio button to set orientation.
-
To adjust the left margin, enter or adjust the value in the Left Margin field.
-
Select any of the option under Print Options as needed.
-
-
Click
 Save and Close to save changes and return to the report options window.
 -
To apply the layout theme to the report, select the new layout theme from the Select Layout Theme drop-down list.