Connecting the GPS Antenna
After connecting the antenna, ensure that it has a clear view of the sky to get optimum connection to the satellites.
-
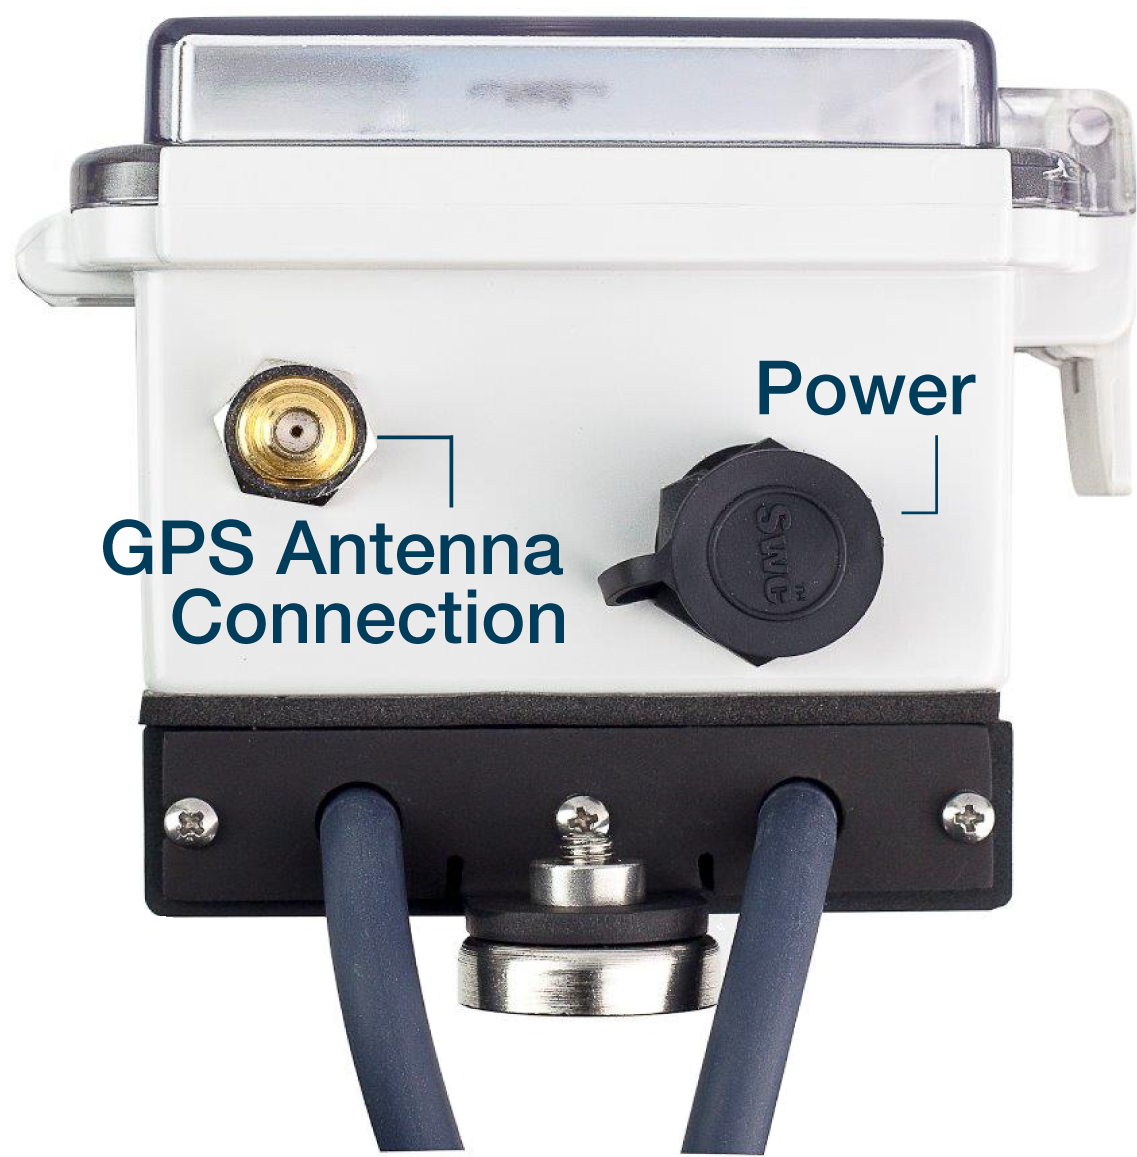
Connect the magnetic-mount, GPS antenna to the GPS antenna connection on the interrupter.

GPS360 GPS Antenna Connection
-
Mount the GPS antenna on a metal surface, making sure the antenna has a clear view of the sky. If a metal surface is unavailable, glue a flat washer on a suitable surface and then place the GPS antenna on the flat washer.
After applying power to the interrupter, unit information briefly appears in the display.
-
After the initialization process completes, the interrupter displays the main menu. If the main menu does not display, make sure the interrupter is not currently running another program. If another program is running, press PREV and then ENTER.
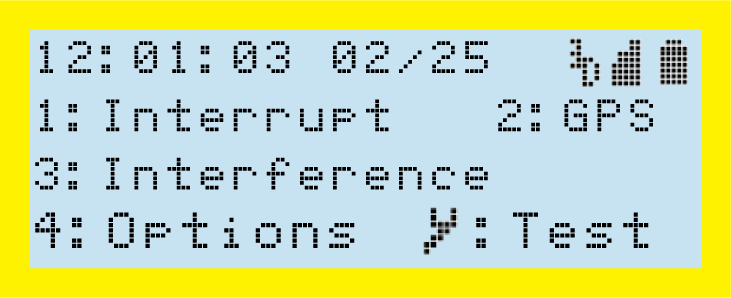
The main menu displays available menu options that you can select. To select a menu option, use the keypad to select the number associated with the menu option. For example, press 1 on the keypad to select the Interrupt menu option.

Main Menu
The main menu also displays current time and date and satellite information. For information on the symbols shown on the screens, refer to Status Icons.
While the GPS360 battery is charging, a
 displays in the top right corner. When the unit is fully charged, the icon is replaced by a full battery icon. As the battery power decreases, the icon changes to reflect the power level of the battery. Also, as long as the interrupter is attached to an alternate power sources, such as a USB connection to a computer, the plug icon
  will display.
Refer to Interrupter Programming for more information on configuring the GPS360.