Connecting Devices to the RM3011
To ensure a clean, stable reading, keep field wiring as short as possible and use shielded twisted pair wire such as Alpha 2463C.
The RM3011 is connected to the oil sensor switch, annunciator, and a DC power source with the circular 9-pin cable assembly, which is shipped with the unit.
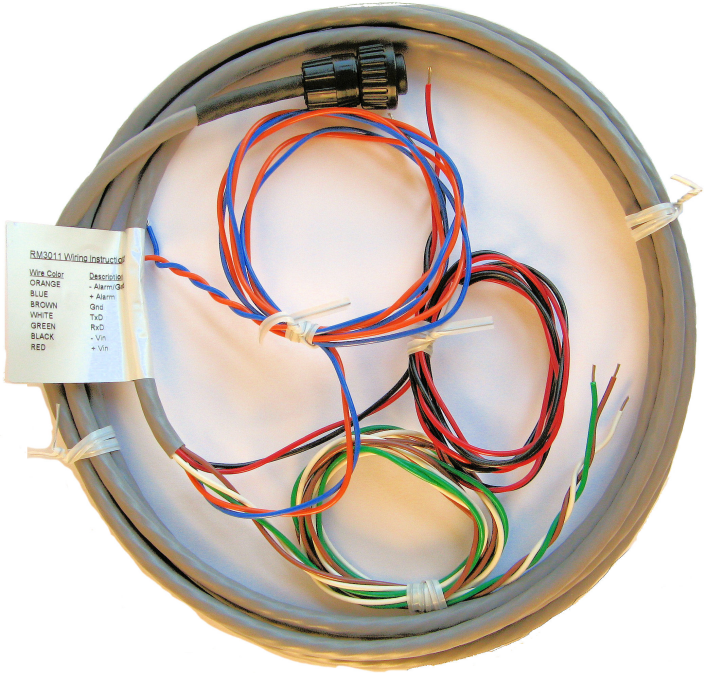
Circular 9-Pin Cable Assembly
The cable assembly is labeled with wiring descriptions to help with the installation of the oil sensor switch, annunciator, and DC power.
|
Front Panel Pin |
Wire Color |
Description |
|---|---|---|
|
3 |
Orange |
-Alarm/GND |
|
4 |
Blue |
+Alarm |
|
5 |
Brown |
Gnd (ground) |
|
1 |
White |
TxD |
|
2 |
Green |
RxD |
|
8 |
Black |
-Vin (voltage in) |
|
9 |
Red |
+Vin (voltage in) |
Complete the following steps to connect the devices to the RM3011:
-
Splice the oil line into the compression tee. Secure the line by tightening the end bolts.
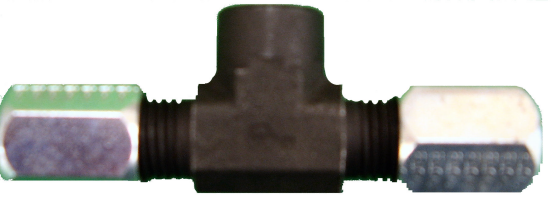
Compression Tee
-
Wrap Teflon tape around the oil sensor threads.
-
Attach the oil sensor switch to the compression tee.
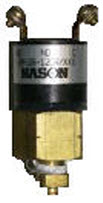
Oil Pressure Sensor Switch
-
If needed, connect spade lugs to the alarm wires (blue/orange) for connection to the oil sensor switch terminals.
-
Connect alarm wires to the oil sensor switch terminals.
-
If applicable, connect the receive/transmit/ground wires (white/green/brown) to annunciator.
-
For Altronic annunciators, connect the receive/transmit/ground wires to the screw terminals of the DB-9 adapter, using the following connections:
-
Connect green wire to wire terminal marked RXD (2).
-
Connect white wire to the screw terminal marked TXD (3).
-
Connect ground (brown) wire to the screw terminal marked GND (5).
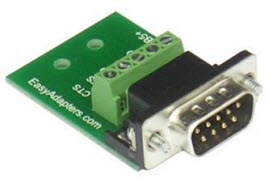
Annunciator DB-9 Adapter
-
-
Connect voltage wires (black = negative; red = positive) to DC source on compressor (requires 12-36Vdc input).
Connect the voltage wires from the 9-pin cable assembly to the non-switched side of the power strip of the compressor or to a continuous power source. This will ensure that power to the RM3011 is not interrupted if the compressor shuts down.
-
Line up notch on the circular 9-pin connector to the 9-pin connector on the RM3011. Secure connector by tightening coupling ring until it clicks in place.
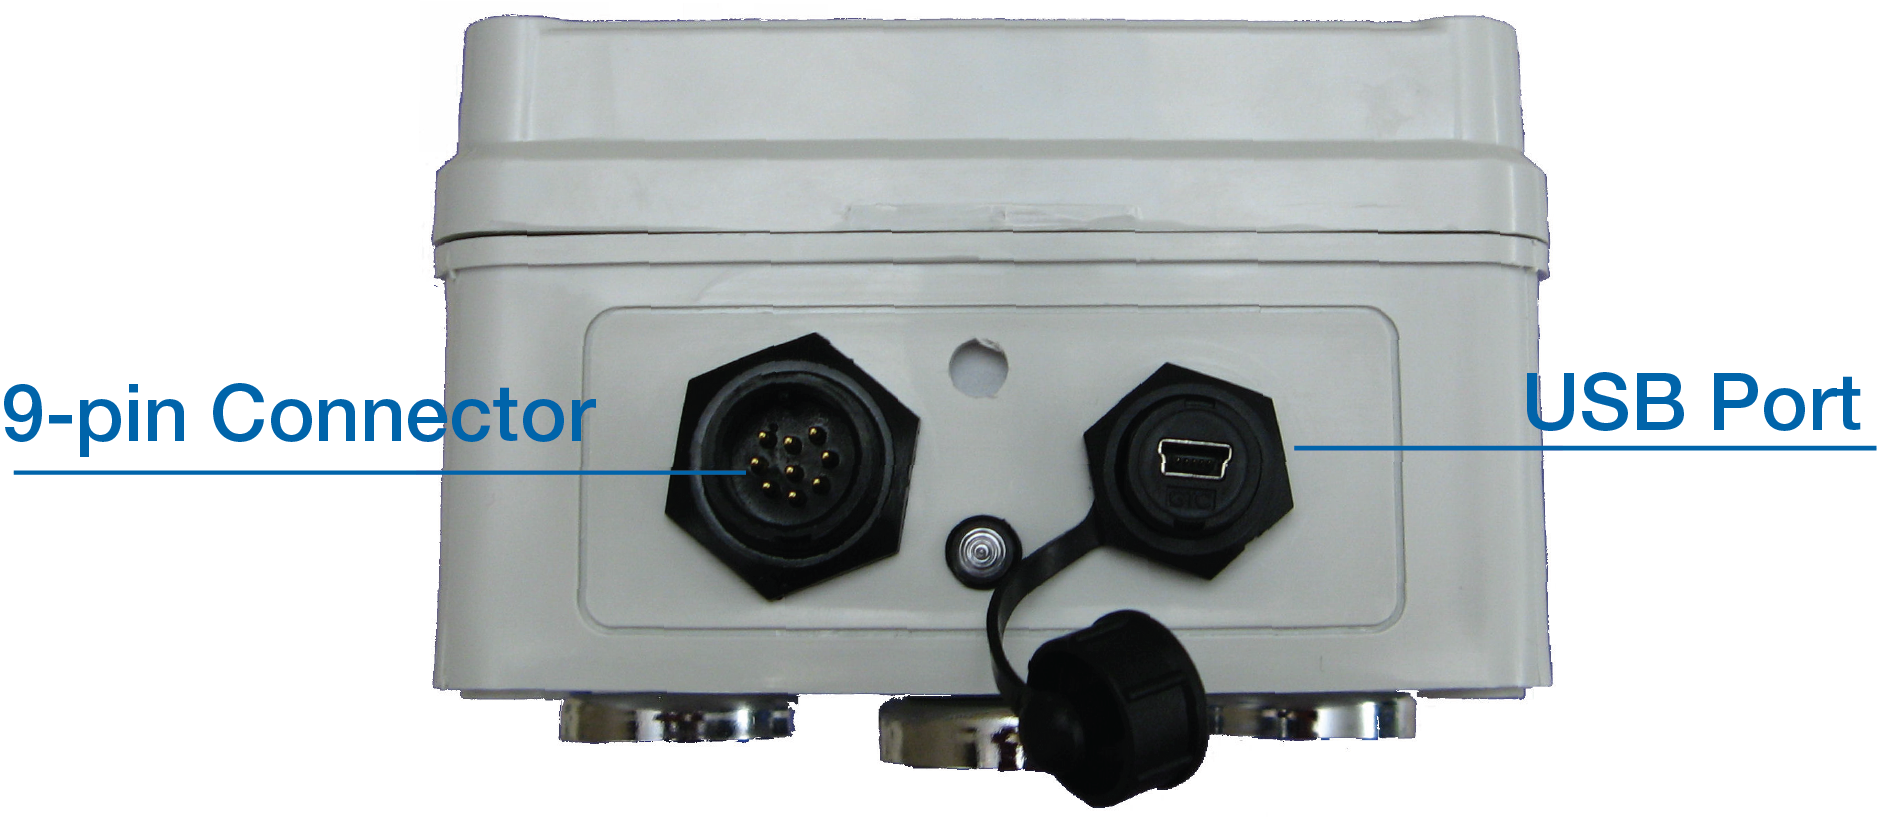
RM3011 9-Pin Connector and USB Port