Schedule Interruption
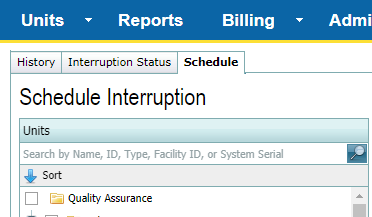
To schedule interruption for a unit or group of units, click the ![]() Schedule Interruption button that is found under the History, Interruption Status, and Schedule tabs.
Schedule Interruption button that is found under the History, Interruption Status, and Schedule tabs.

Schedule Interruption Button
Complete the following steps to schedule interruption for a unit or a group of units from the Interruption page:
-
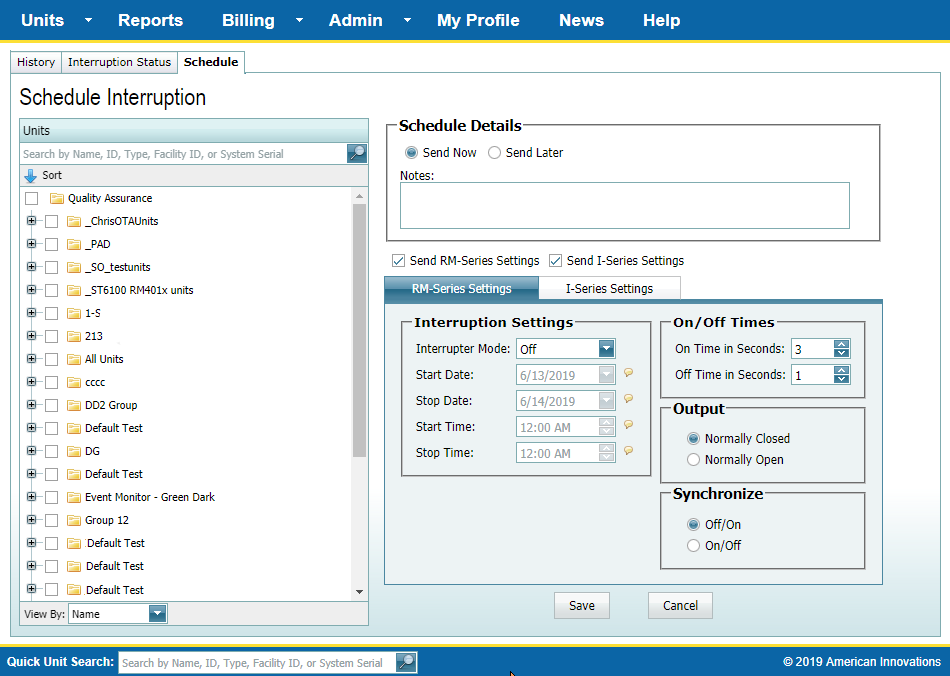
Select a unit or a Unit Group from the navigation pane on the left by clicking in the check box to add a check mark to the box.

Schedule Interruption Tab
-
To expand a Unit Group to display all units in a group, click the
 next to the group name.
-
If needed, click the
 at the top of the list to sort the list in ascending or descending order.

Sorting Unit Groups
-
To search for a unit, type the name, ID, unit type, Facility ID, or system serial number in the Quick Unit Search box.
You must select at least one group or unit for the scheduled interruption. To de-select the unit or group, click the check box to remove the check mark.
-
In the Schedule Details pane, select when to have the interruption sent:

Schedule Details Pane
-
To send now, click the Send Now radio button.
-
To send later, click the Send Later radio button. Also select the day and time.
-
-
Add any appropriate notes in the Notes field.
-
Select the type of settings to send (must select at least one):

Select Unit Type for Interruption Settings Check Boxes
-
Click the check box for Send RM-Series Settings for unit types in the RM series, such as RM4010.
-
Click the check box for Send I-Series Settings for ICP and ICP+ unit types.
-
-
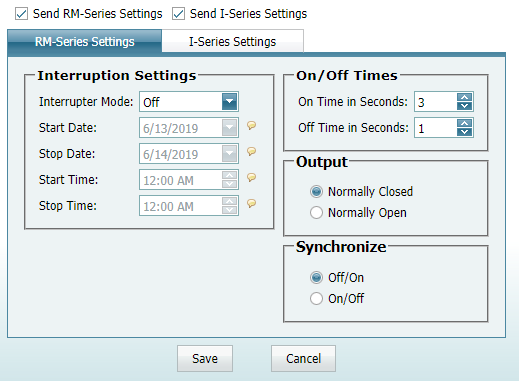
For RM-Series Settings:
-
Under Interruption Settings:
-
Click the Always Off check box to add a check mark to the box and to switch the relay driver output to assist in turning a rectifier output off.
-
Select an Interrupter Mode from the list of choices in the field.
-
If the Start/Stop Interrupter Mode was selected, select a Start Date for when the Start/Stop interruption will begin.
-
If the Start/Stop Interrupter Mode was selected, select a Stop Date for when the Start/Stop interruption will end.
-
If either the Start/Stop or Daily Interrupter Mode was selected, select a Start Time for when the interruption will begin.
-
If either the Start/Stop or Daily Interrupter Mode was selected, select a Stop Time for when the interruption will end.
-
-
Under On/Off Times:
-
Set an On Time in Seconds.
-
Set an Off Time in Seconds.
-
-
Under Output, click either the Normally Closed or Normally Open radio button to set the output.
-
Under Synchronize, click either the Off/On or On/Off radio button to set the synchronization.
-
Click Save to save the schedule. If you click the Cancel button, the interruption will not be scheduled, and the Schedule Interruption page will close.
-
-
For I-Series Settings:
-
Click the I-Series Settings tab.
-
Click either the Start or Stop radio button to start or stop the interruption.
-
Click one of the program radio buttons (Program 1 - 4).
-
Click Save to save the schedule. If you click the Cancel button, the interruption will not be scheduled, and the Schedule Interruption page will close.
-