Add Contact Information
The Contact Information tab on the Client Profile page includes the ability to add several different ways to contact users with relevant account information, including an address, email address, fax or phone number, text message, numeric pager, or an FTP site.
Complete the following steps to add a contact method for a contact:
-
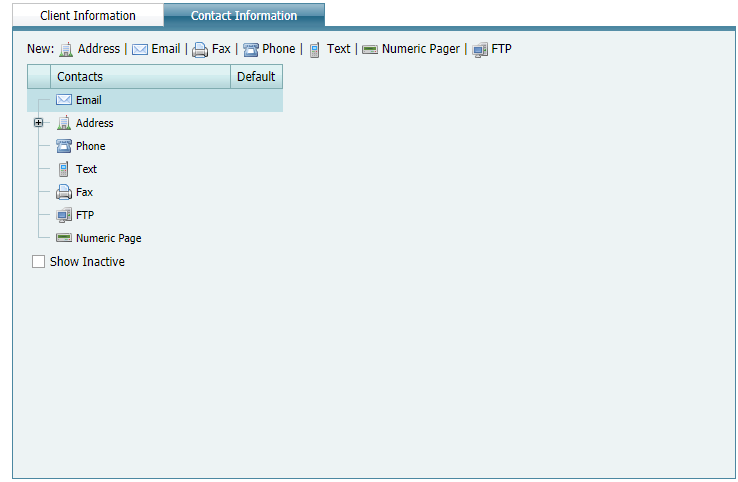
On the Contact Information tab of the Client Profile page, create a new contact method by clicking one of the contact types shown at the top: Address, Email, Fax, Phone, Text, Numeric Pager, or FTP.

Contact Information - New Contact
-
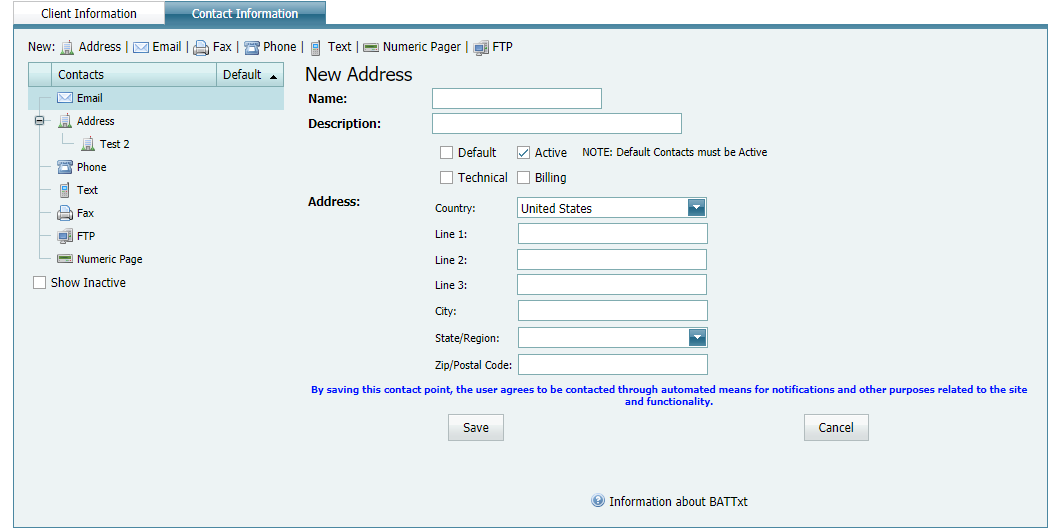
Type a name and description for the new contact method in the Name and Description fields, respectively. A new contact's address is shown in the example.

Adding a New Contact's Address
-
The Active check box is automatically checked when a new contact method is created. To make a contact inactive, uncheck the check box.
-
Click the Default check box if you want to designate the new contact method as the preferred method for contacting the primary contact person about important information, such as upcoming system maintenance schedules. You must also select Active for any contact that is designated Default.
-
If you want the primary contact person to receive alert notifications using the new contact method, click the Technical check box.
-
If you want the primary contact person to receive billing invoice reports using the new contact method, click the Billing check box.
-
For the respective contact method, enter the mailing address, email address, fax number, phone number, text address (see example under Text), pager information, or FTP destination (including User ID and Password) for the new contact.
-
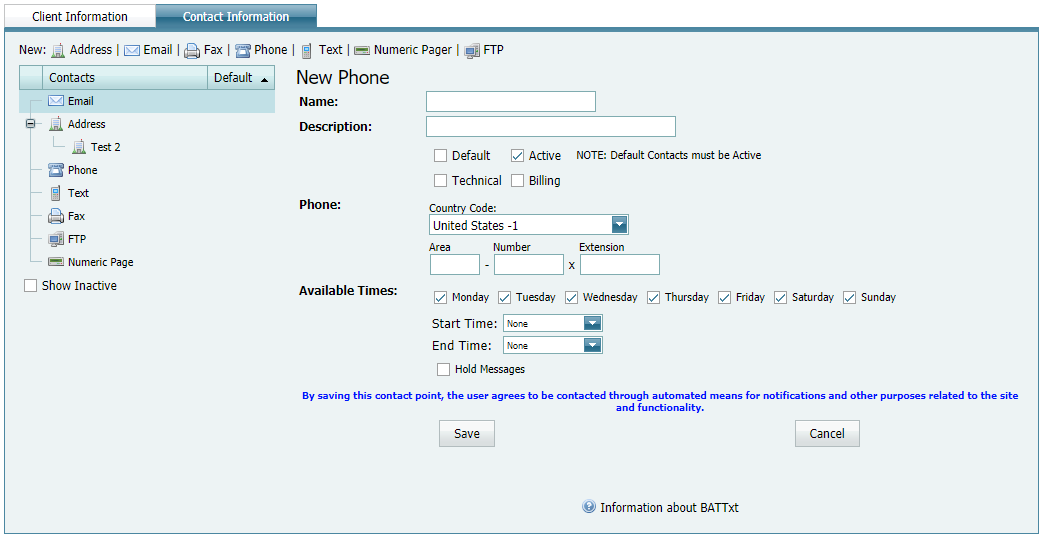
For all contact methods except Address, set up an Available Times schedule that identifies when to contact the primary contact person, such as Monday from 8am to 5pm. Select one or more days of the week and then click the down arrow in the Start Time and End Time fields to select a time schedule.

Available Times for Contacting by Email, Fax, Phone, Text, Numeric Pager, and FTP
-
For all contact methods except Address, click the Hold Messages check box if you want to store messages in a queue and then sent during the Available Times schedule.
-
Complete any remaining fields, making sure to provide information for required fields highlighted in red.
-
Click Save to save changes or Cancel to "undo" changes and return to the last, saved setting.
-
Repeat this procedure to add another new contact method as needed.
When Start Time and End Time span two days, such as 11 pm to 7 am, Start Time begins with the day you select and End Time is the next day, even when the next day is not included in the schedule. For example, if Available Times is set up as Monday from 11 pm to 7 am, Start Time is Monday at 11 pm, and End Time is Tuesday at 7 am.