DCVG Settings
Settings for DCVG surveys can be set through ![]() Settings. These settings include the following:
Settings. These settings include the following:
You can also open the DCVG Settings window by tapping the graph within DCVG Survey module.
-
setting a voltage level for invalid readings
-
enable audio alerts for readings
-
enable double-click detection for data canes
-
autosave survey file
-
select text colors and background colors for field entries and readings
-
add or edit remarks that can be added to a record
You can set up these settings before beginning a DCVG survey or at any time while completing a survey.
Complete the following steps to access and set up DCVG survey settings:
-
From any window within PCS Field Data Collector app, tap
 Settings.
You can also open the DCVG Settings window by tapping the graph within the DCVG Survey module if the graph is displayed.
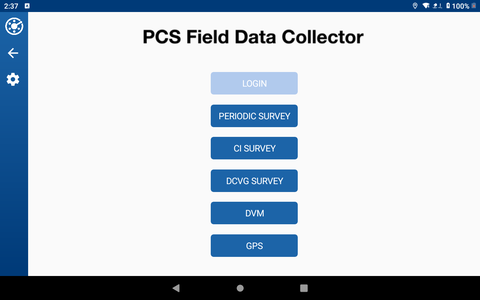
Settings Icon on Home Window
-
Tap DCVG.
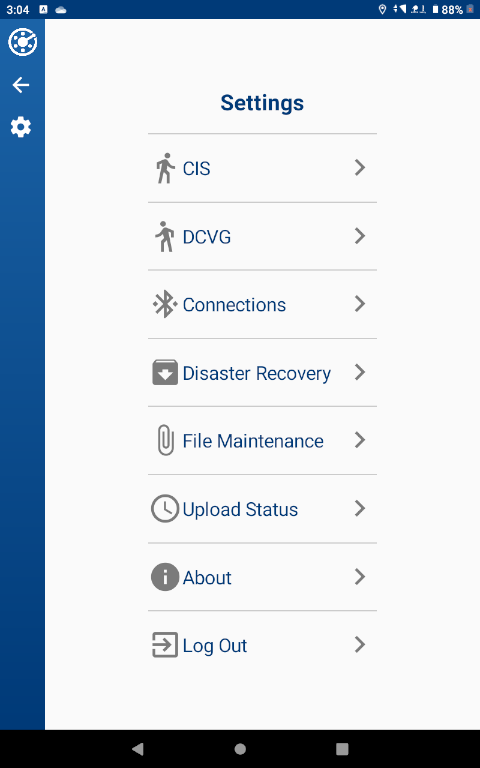
Settings Window
-
Under Voltage Level, enter a Voltage level in the text box. This voltage level sets the displayed line in the line graph. The value you enter here determines what is considered a valid or invalid reading. For example, if the voltage value is set to -0.85, then a reading more negative (for example, -0.86) is valid. If a reading is more positive than the entered voltage value (for example, -.84), the reading is invalid.
The voltage level you set here is used for the Beep when less negative than the set voltage level audio alert setting (next step).

DCVG Settings - Voltage Level Setting
-
Under Audio Alerts, tap Enable Audio to have an audible alert sound when preforming readings.

DCVG Settings - Audio Alerts
Select one or more of the actions that you would like to have an audio alert enabled from the list below Enable Audio:
-
Beep when absolute value is greater than voltage level — a sound is made when you take a reading that is greater than the voltage level you set in the previous step.
-
Beep when overwriting existing data — a sound is made if you overwrite a reading.
If enabling audio alerts, also be sure to check that the volume of your device is loud enough for you to hear the sounds. Volume levels are set through your device's Sound settings.
-
Under Polarity, select Show Polarity to show the polarity of the voltage reading.

DCVG Settings - Polarity
-
Under File, select Enable Autosave to have the survey file automatically saved. Specify the time interval for the saves in the Interval text box (in minutes).

DCVG Settings - File
-
Under Double Click, select Enable double-click detection to allow the option to set a flag by double-clicking the trigger on the data cane.

DCVG Settings - Double Click
-
Under Color, select Enable Colors to enable the ability to change text colors. For each type of text, select the color desired. An example of what the text will look like after colors are applied are shown below the Enable Colors slider. The example updates whenever the color for the text is selected.
The following example is from the Mesa 3.
If you are in portrait mode on the Mesa 3, you will also have to scroll in the rows to see more colors.
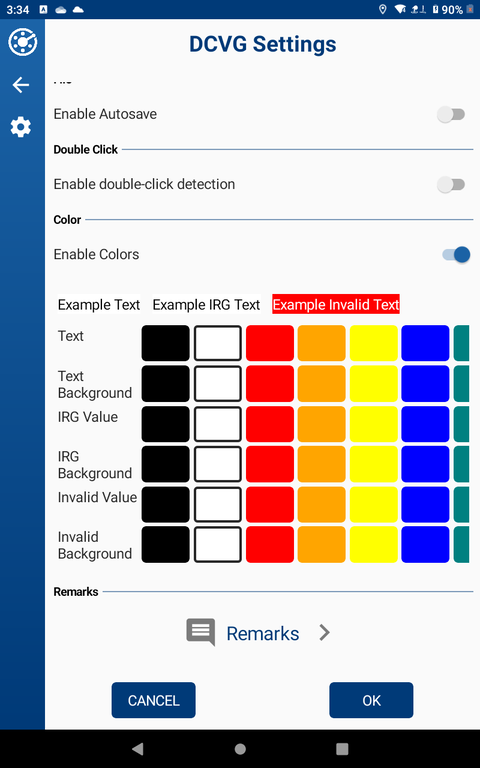
DCVG Settings - Color
-
Under Remarks, tap
 Remarks to add to or change available remarks for survey records. The list shown in this window will be available while in the DCVGSurvey module.
DCVG Settings - Remarks
In the Remarks window select from the available options.
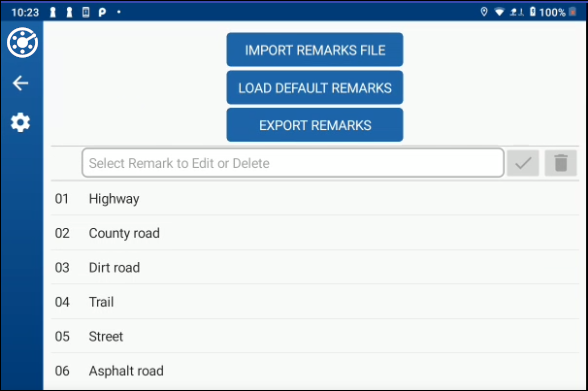
DCVG Settings - Remarks Options
-
Import Remarks File — overwrites any other imported remarks list. Tap Yes in the Confirmation window to begin.
The RemarkList.txt file that you create must be located in the Files directory on your device, which can be found at internal shared storage>Android>data>com.aiworldwide.aim>files. Refer to RemarkList.txt File for more information.
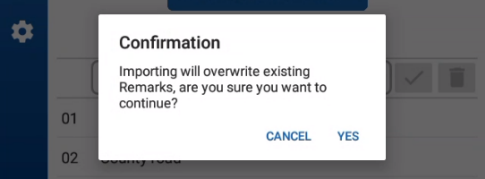
Import Remarks File Confirmation Window
-
Load Default Remarks — loads system default remarks for records. Tap Yes in the Confirmation window to begin.
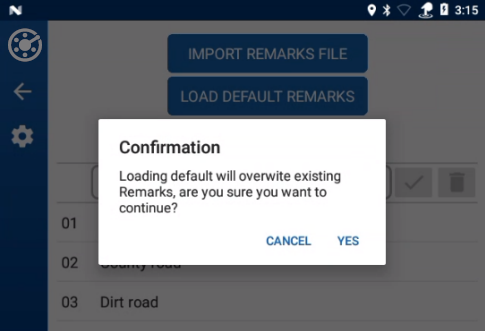
DCVG Settings - Remarks Loading Defaults
The defaults will populate in the window.

DCVG Settings - System Default Remarks
-
Export Remarks — if using an imported remarks file, export changes to this file.
-
Select Remark to Edit or Delete — tap on a Remark from the list to edit it or delete it. Tap
 to save it to the list, or tap
  to delete it.
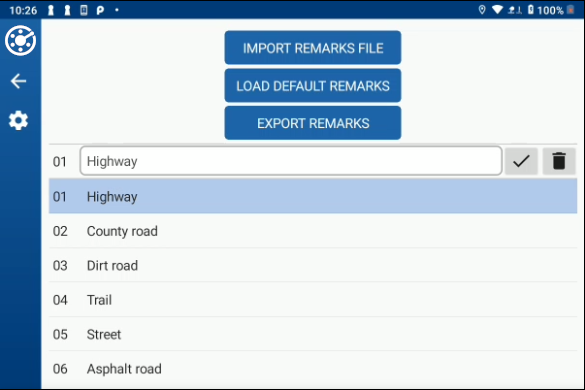
DCVG Settings - Edit or Delete Remark
-
If you accidentally delete a default Remark, tap Load Default Remarks to add it back.