Add a Calculated User Defined Field
Set up a calculated user defined field (UDF) when you want to include an expression for a specific calculated outcome. Calculated fields are read-only.
Complete the following steps to add a calculated UDF:
-
Click Tools > Field and UDF Customizations to open the Field and UDF Customizations window.
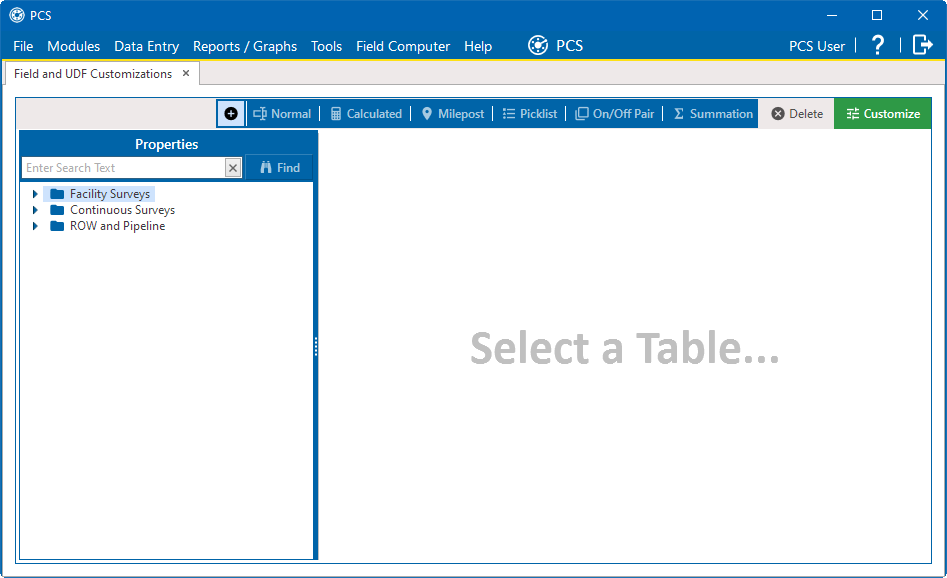
Field and UDF Customization Window
-
If you want to select a grid layout theme, click
 Customize to open the Column Selections window, select a theme from the Select a Layout Theme field, and click
  Save.
Save.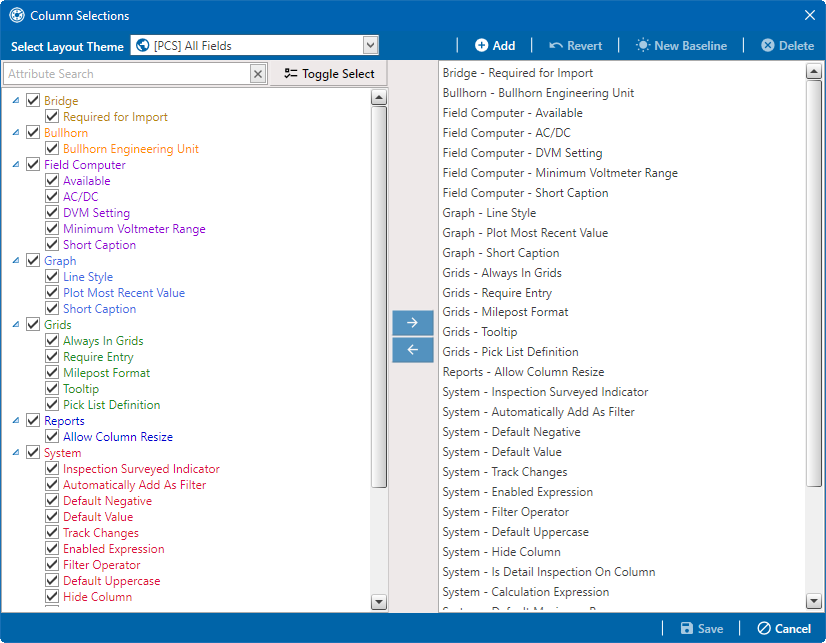
Column Selections Window
-
Select a table in the Properties pane that includes the data entry grid to which you want to add a UDF.
Click the Properties header bar to collapse the Properties pane to expand the view of the grid. Click the bar again to expand the Properties pane.
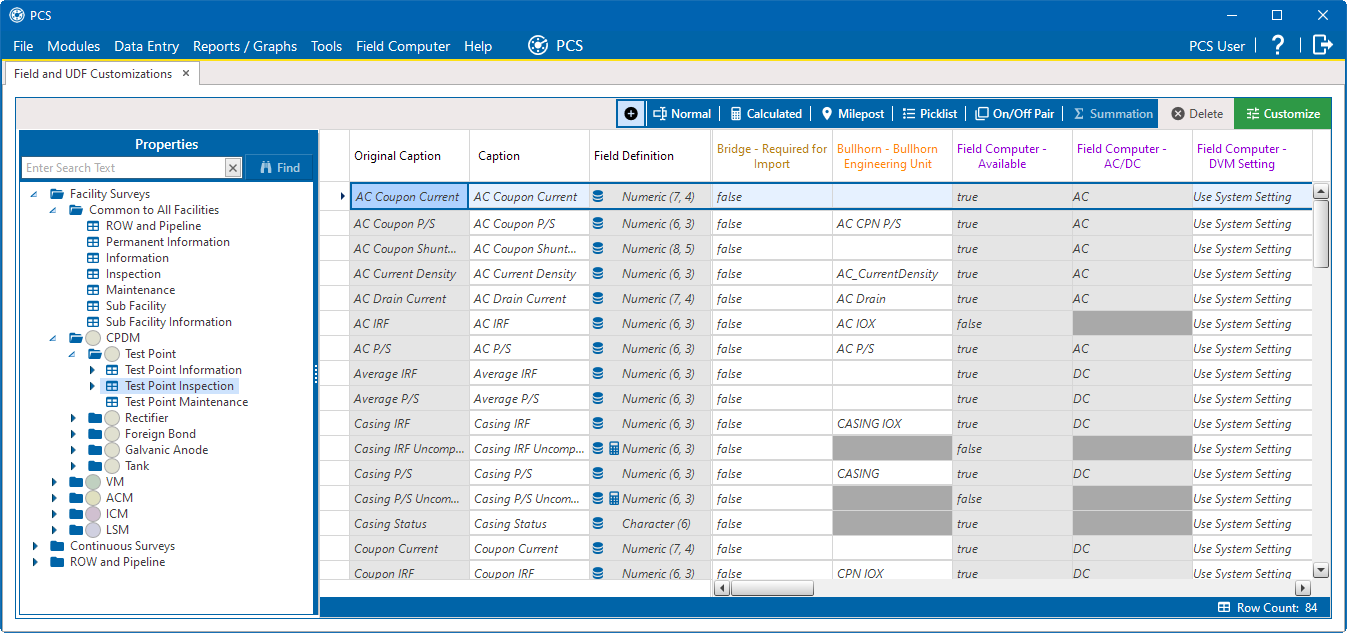
Field and UDF Customizations
-
Click
 Calculated in the toolbar to open the Add Calculated Expression window.
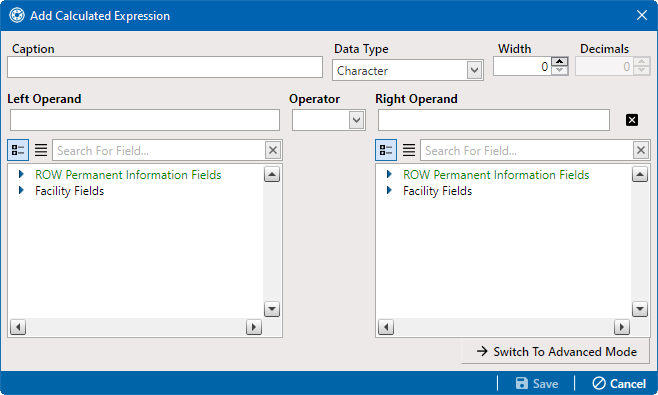
Add Calculated Expression
-
Type a unique name for the field in the Caption field.
-
Select a data type from the Data Type drop-down field.
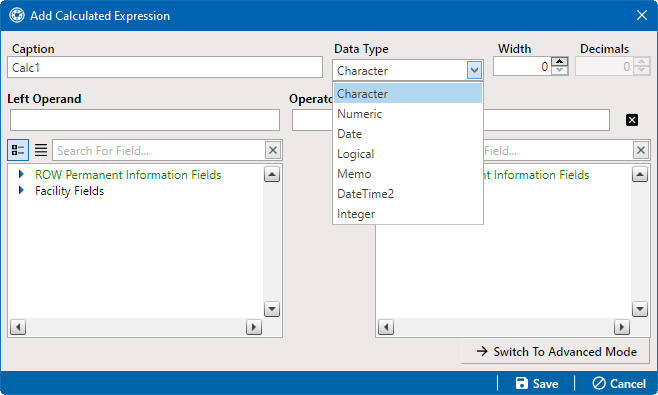
Add Calculated Expression - Data Type
-
If you selected either the Character or Numeric data type, set the length of the field by typing the number of characters required for the field in the Width field. Clicking the up arrow in the Width field increases the value; clicking the down arrow decreases the value.
-
If you selected the Numeric data type, set the number of decimal places required for the field by typing a value in the Decimals field. Decimals refer to the number of digits that will be shown to the right of the decimal point.
Numeric fields will have the width and/or decimal values displayed next to the field type in the Field Definition column. For example, a numeric field with a width of 4 and decimal value of 3 will display as Numeric (4,3).
Once the width and decimal values have been set and saved for a calculated field, they cannot be edited.
-
Define the expression. Calculations can be creating in either a simple mode or a more advanced mode. The simple mode can be used for simple calculations, while the advanced mode can be used for more complex calculations with one or more operators and/or functions. The following steps describe how to create a calculated expression in either of the modes.
-
Simple Mode — to create a calculated field in simple mode:
-
Select a field from the list shown in the left pane that will be used first in the calculation and double-click the name to add it to the Left Operand field. You can also type a value in the Left Operand field.
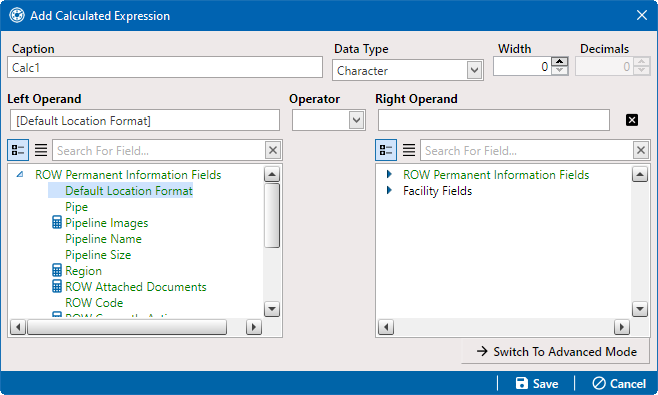
Left Operand Field
-
Select an operator from the Operator drop-down field.
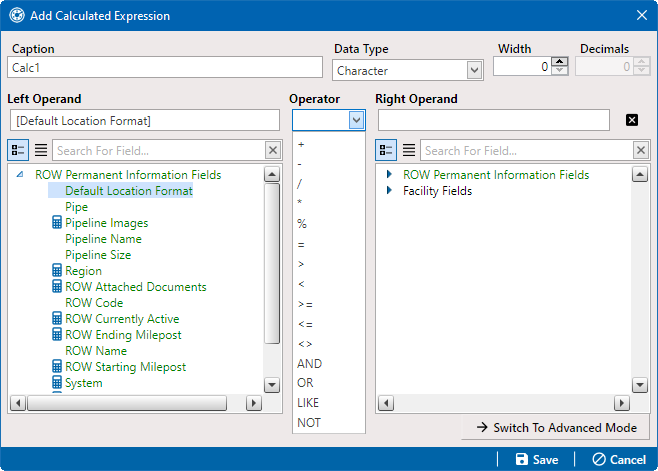
Operator
-
Select a field from the list shown in the right pane that will be used after the operator and double-click the name to add it to the Right Operand field. You can also type a value in the field.
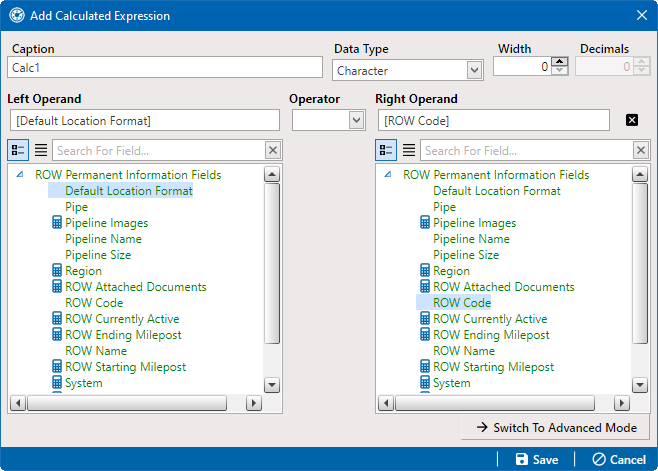
Right Operand
-
-
Advanced Mode — to create a calculated field in advanced mode:
-
Click
 Switch To Advanced Mode.
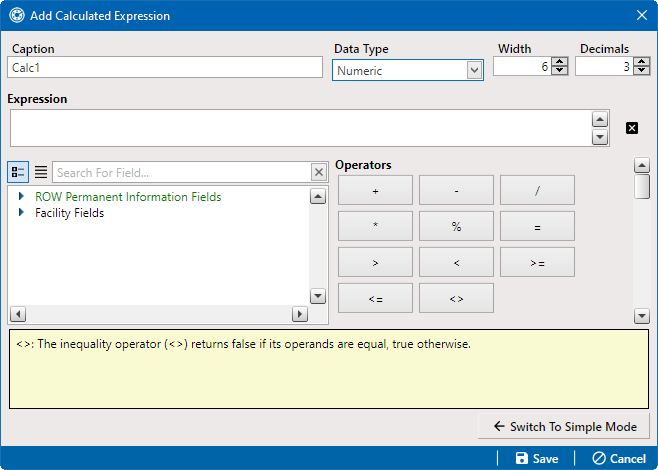
Add Calculated Expression (Advanced Mode)
-
Define the field's calculation in the Expression field by adding fields from the list of fields and the operator and function buttons. You can also type values in the Expression field.
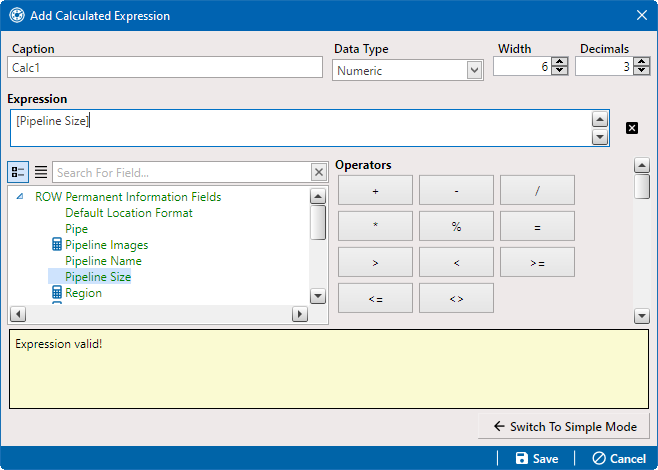
Add Calculated Expression - Advanced Mode
-
-
-
Click
 Save to save the new field and close the window. The field is now included in the Field and UDF Customizations window grid.
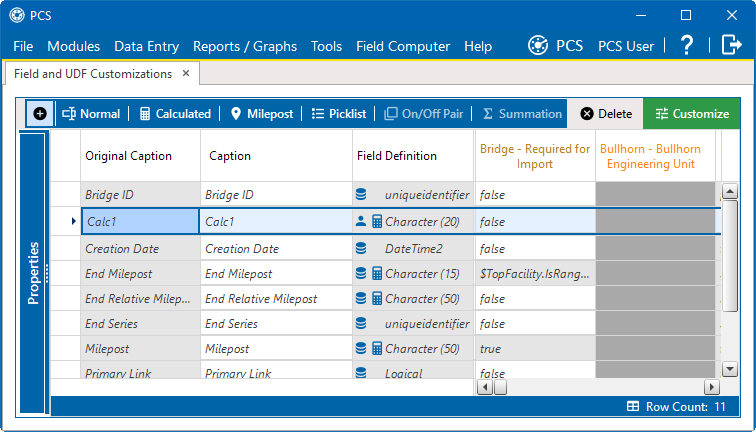
Completed Calculated User Defined Field