Set Up Change Tracking with a Simple Trigger
Configuring PCS to track data changes with a trigger can be done from within PCS using the Field and UDF Customizations and Options menus under the Tools main menu.
It is recommended that change tracking configurations are only made during the initial configuration of PCS or while performing system maintenance.
The following steps describe how to track data changes using a trigger either for all of PCS or individual fields.
Complete the following steps to enable overall change history for PCS:
-
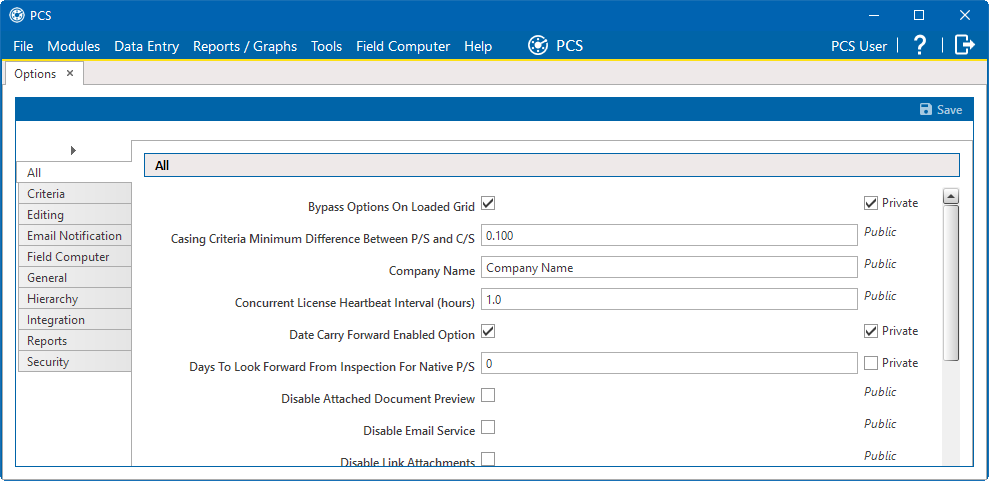
Click Tools > Options.

Options Window
-
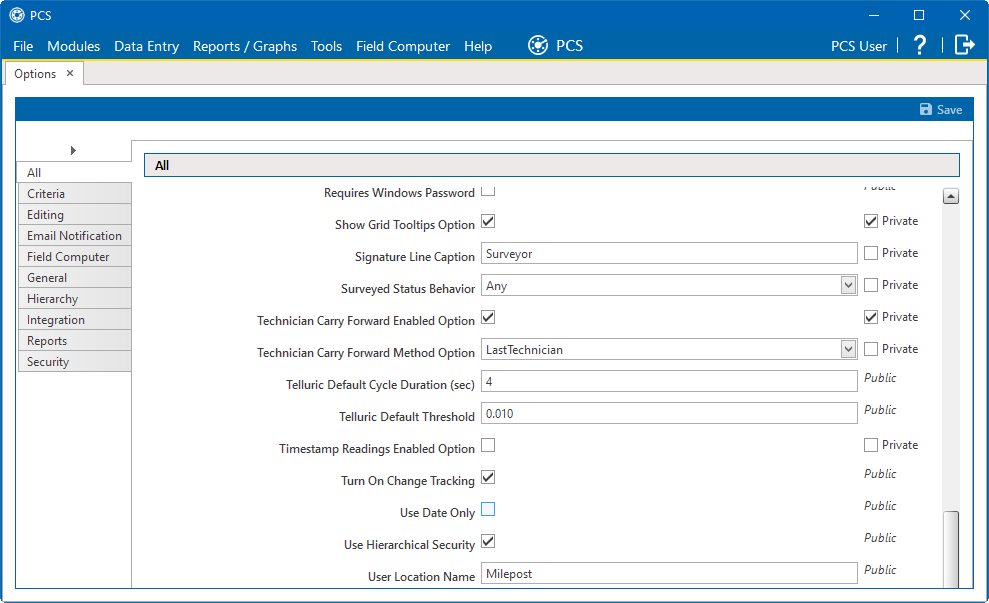
In the All pane, scroll down to Turn On Change Tracking and select it.

Turn On Change Tracking Option
Complete the following steps to modify change tracking settings for individual fields as needed:
-
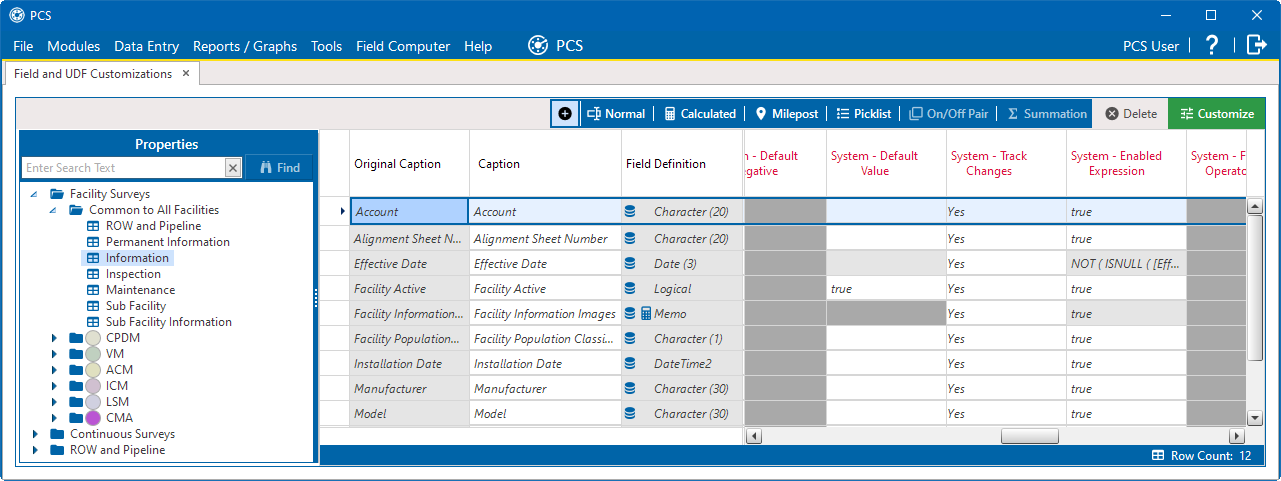
Click Tools > Field and UDF Customizations to open the Field and UDF Customizations window.

Field and UDF Customization Window
-
Select a table in the Properties panel that includes the field you want to modify for change history.
-
In the grid, select the field you want to set up for change tracking.
-
In the System-Track Changes column, select Yes to track changes made in the selected field while change history is enabled. Select No to not record any changes made in the field, even if change history is enabled in Options.
-
Repeat steps for additional fields.