Preview the Bridge Import
You can preview a Basic Bridge definition before importing the data into PCS. Bullhorn Bridge definitions do not have the preview function.
All data items must be validated and all definitions complete before you can preview the import. Refer to Define Data Items for Basic Bridge Definition for more information.
Complete the following steps to preview the data from a Basic Bridge definition before importing into PCS:
-
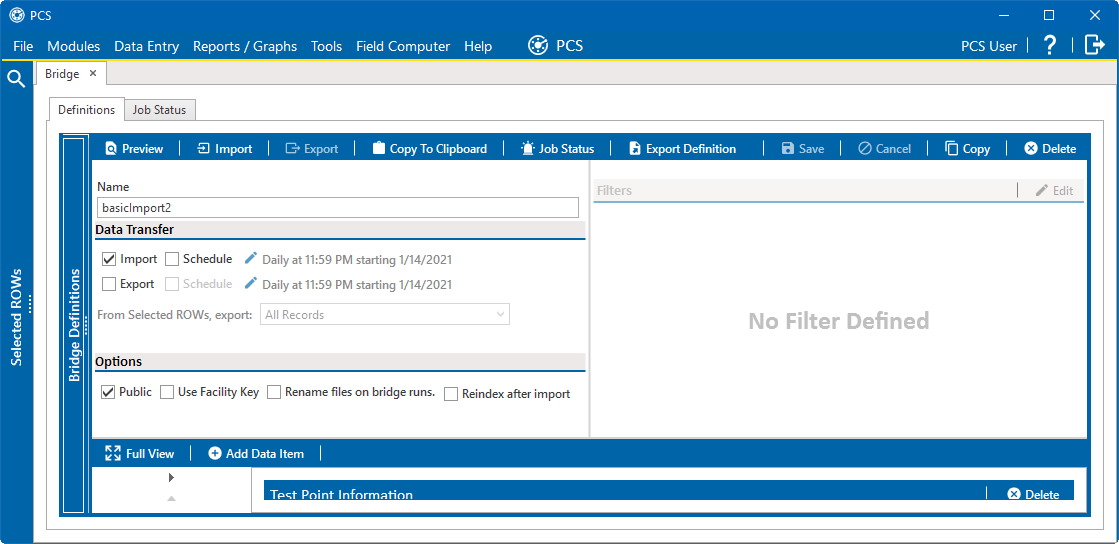
In the Bridge Definition pane, click
 Preview.
Bridge Definitions - Preview
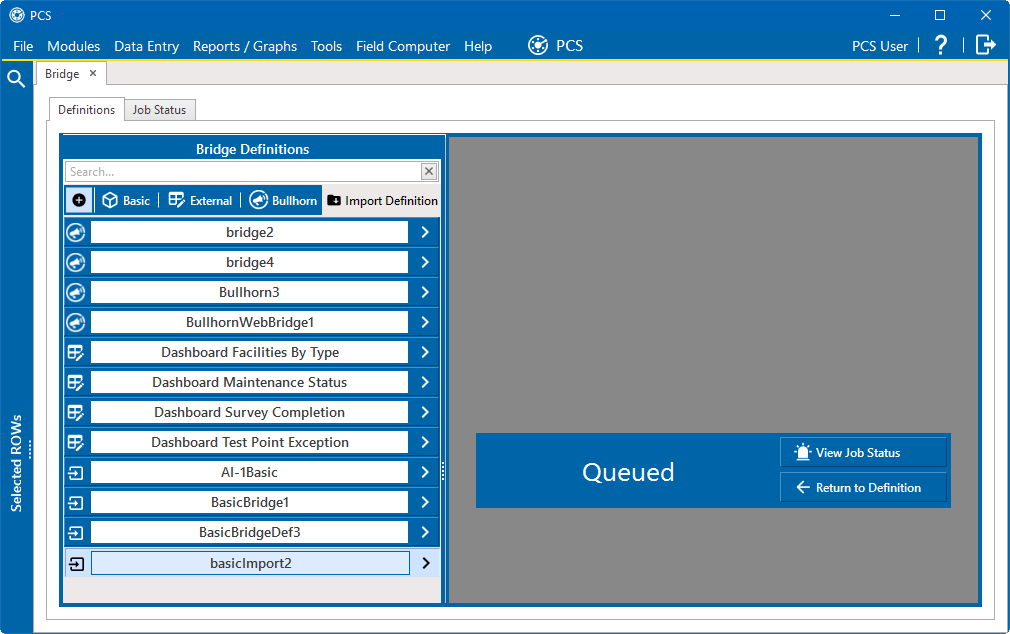
The Preview Status window displays in place of the Definition pane with an initial status of Queued.

Queued Preview Status
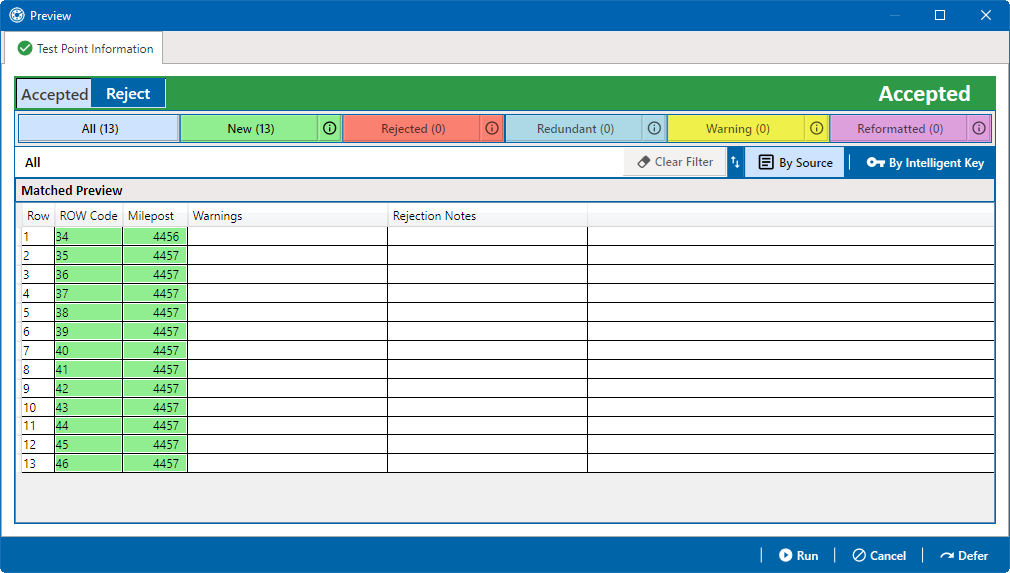
As soon as the Bridge preview task starts, the status updates to Running. Once the initial analysis of the Bridge data is complete, the status updates to Previews Available, and the Preview window opens.

Previews Available Status
Some data in the Preview window is shaded in a color, to identify whether the data will import into PCS successfully or needs attention prior to import.
The following bridge preview data properties are represented by colored cells:
-
Green — New. Indicates data that, once the bridge transition file is imported, will be entered into PCS.
-
Red — Rejected. Indicates invalid data that, during the bridge transition file import, PCS would reject and not allow in PCS.
-
Blue — Redundant. Indicates data that matches data already in PCS or elsewhere within the bridge transition file and therefore will not be imported.
-
Yellow — Warning. Indicates data that has warning messages. It is recommended that you review this data to ensure that it the data displayed is the data that you want in PCS.
-
Pink — Reformatted. Indicates the data that, during the bridge transition file import, will be reformatted to conform to PCS standards. It is recommended that you review this data to ensure that it is reformatted correctly.
-
-
To filter the Preview window to show a subset of Bridge data, click on a Bridge preview data property button, which include the following:
-
All — shows all data rows from the bridge transition file.
-
New — shows only data rows that contain new data that would be entered into PCS once the bridge transition file is imported.
-
Rejected — shows only data rows that contain data that PCS would reject and not put into PCS.
-
Redundant — shows only data rows that contain redundant data that will not be imported.
-
Warning — shows only data rows that contain data with warning messages.
-
Reformatted — shows only data rows that contain data that, during the bridge transition file import, will be reformatted to conform to PCS standards. It is recommended that you review reformatted data to ensure that it is reformatted correctly.
-
-
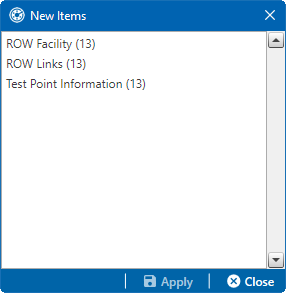
To filter the Preview window based on bridge preview data properties and data type, click the
 icon next to the desired data property button. Select a data type from the New Items window and click
  Apply.
New Items Window
The Preview window updates to show only the data that matches the selected data property and data type.
-
To clear the filter and show all data in the Preview window, click All or
 Clear Filter.
 -
To sort the data in the Preview window, click
 By Source or
  By Intelligent Key to sort the data according to the original sort order of the source document or according to the data's intelligent key, respectively.
 -
After you have reviewed the data in the Preview window, you can either accept, reject, or defer the Bridge import:
-
To reject the data in the Preview window and not import any data, click Reject in the header bar. The header bar turns red to indicate the data will not be imported. Click
 Run.
Run. -
To accept the data in the Preview window and import the data, click Accept in the header bar. The header bar turns green to indicate the data is set to be accepted. Click
 Run.
Run. -
To defer the data in the Preview window and postpone importing the data until a later time, click
 Defer or
  Cancel. The preview will remain available for future reviews and can be accessed using the Job Status tab in the Bridge window.
-